
A wristlet keychain turns a handful of colorful supplies into something useful. Slip it over your wrist while you carry a bag, juggle a coffee, or search for keys at the bottom of a tote. The project is approachable, but the small choices matter: the loop needs to feel comfortable, the hardware needs to suit the base, and the colors need one clear point of view.
Start by deciding what you want the finished piece to do. Some makers want a bright everyday key holder. Others are making a gift, adding a lanyard clip, or building a small batch around a seasonal palette. That purpose gives you a good design rule before the beads ever come out of the bag. A well-planned wristlet is more fun to make because you are choosing toward an idea, not trying to use every pretty piece at once.
1. Choose a base that matches your project
A beaded wristlet keychain can begin with a ready-made base or with cord and hardware assembled for the style you have chosen. Look at the instructions for your base before you select beads. They tell you which opening, cord, attachment, and closure work together. The finish is only as comfortable as the underlying structure, so this is the one place where a little patience pays off.
For a first project, a DIY 10 inch wristlet kit gives you a clear starting point. You can focus on your layout instead of piecing together every component from scratch. If you are using a clip or a different kind of key ring, make sure it sits where you want it before you begin beading. The lanyard clip wristlet tutorial from Cara & Co. is a helpful example of how the attachment choice shapes the first steps.
2. Plan the fit before the final closure
A wristlet should slide over the widest part of your hand without a struggle, then rest securely enough that it feels useful. Before you make the closure permanent, loosely arrange the base and beads, test the loop, and notice how it moves. A fit that looks right on the table can feel very different when you have keys attached.
Give yourself a little room for everyday movement. You want to be able to slip the loop on while holding something else, but you do not want a long, floppy strand that twists around your wrist. If your design includes a focal or larger feature bead, place it where it will remain visible when the wristlet hangs from the key ring. A few minutes of testing now saves a lot of unthreading later.

3. Gather a small, sensible supply set
Keep the supply list focused. You need a base, beads that fit it, any required key ring or clip, and the finishing pieces named in the base instructions. A shallow tray or small dish is also surprisingly useful, because round beads have excellent escape instincts. Add a pair of pliers or scissors only when your chosen method calls for them.
- A wristlet base: use the cord, wire, or ready-made component intended for your project.
- Beads with a plan: choose a small mix of supporting colors and one focal only if it adds to the idea.
- Attachment hardware: use a key ring, clip, or clasp that matches the purpose of the finished wristlet.
- Finishing pieces: gather the exact closure or end pieces your base requires before you start.
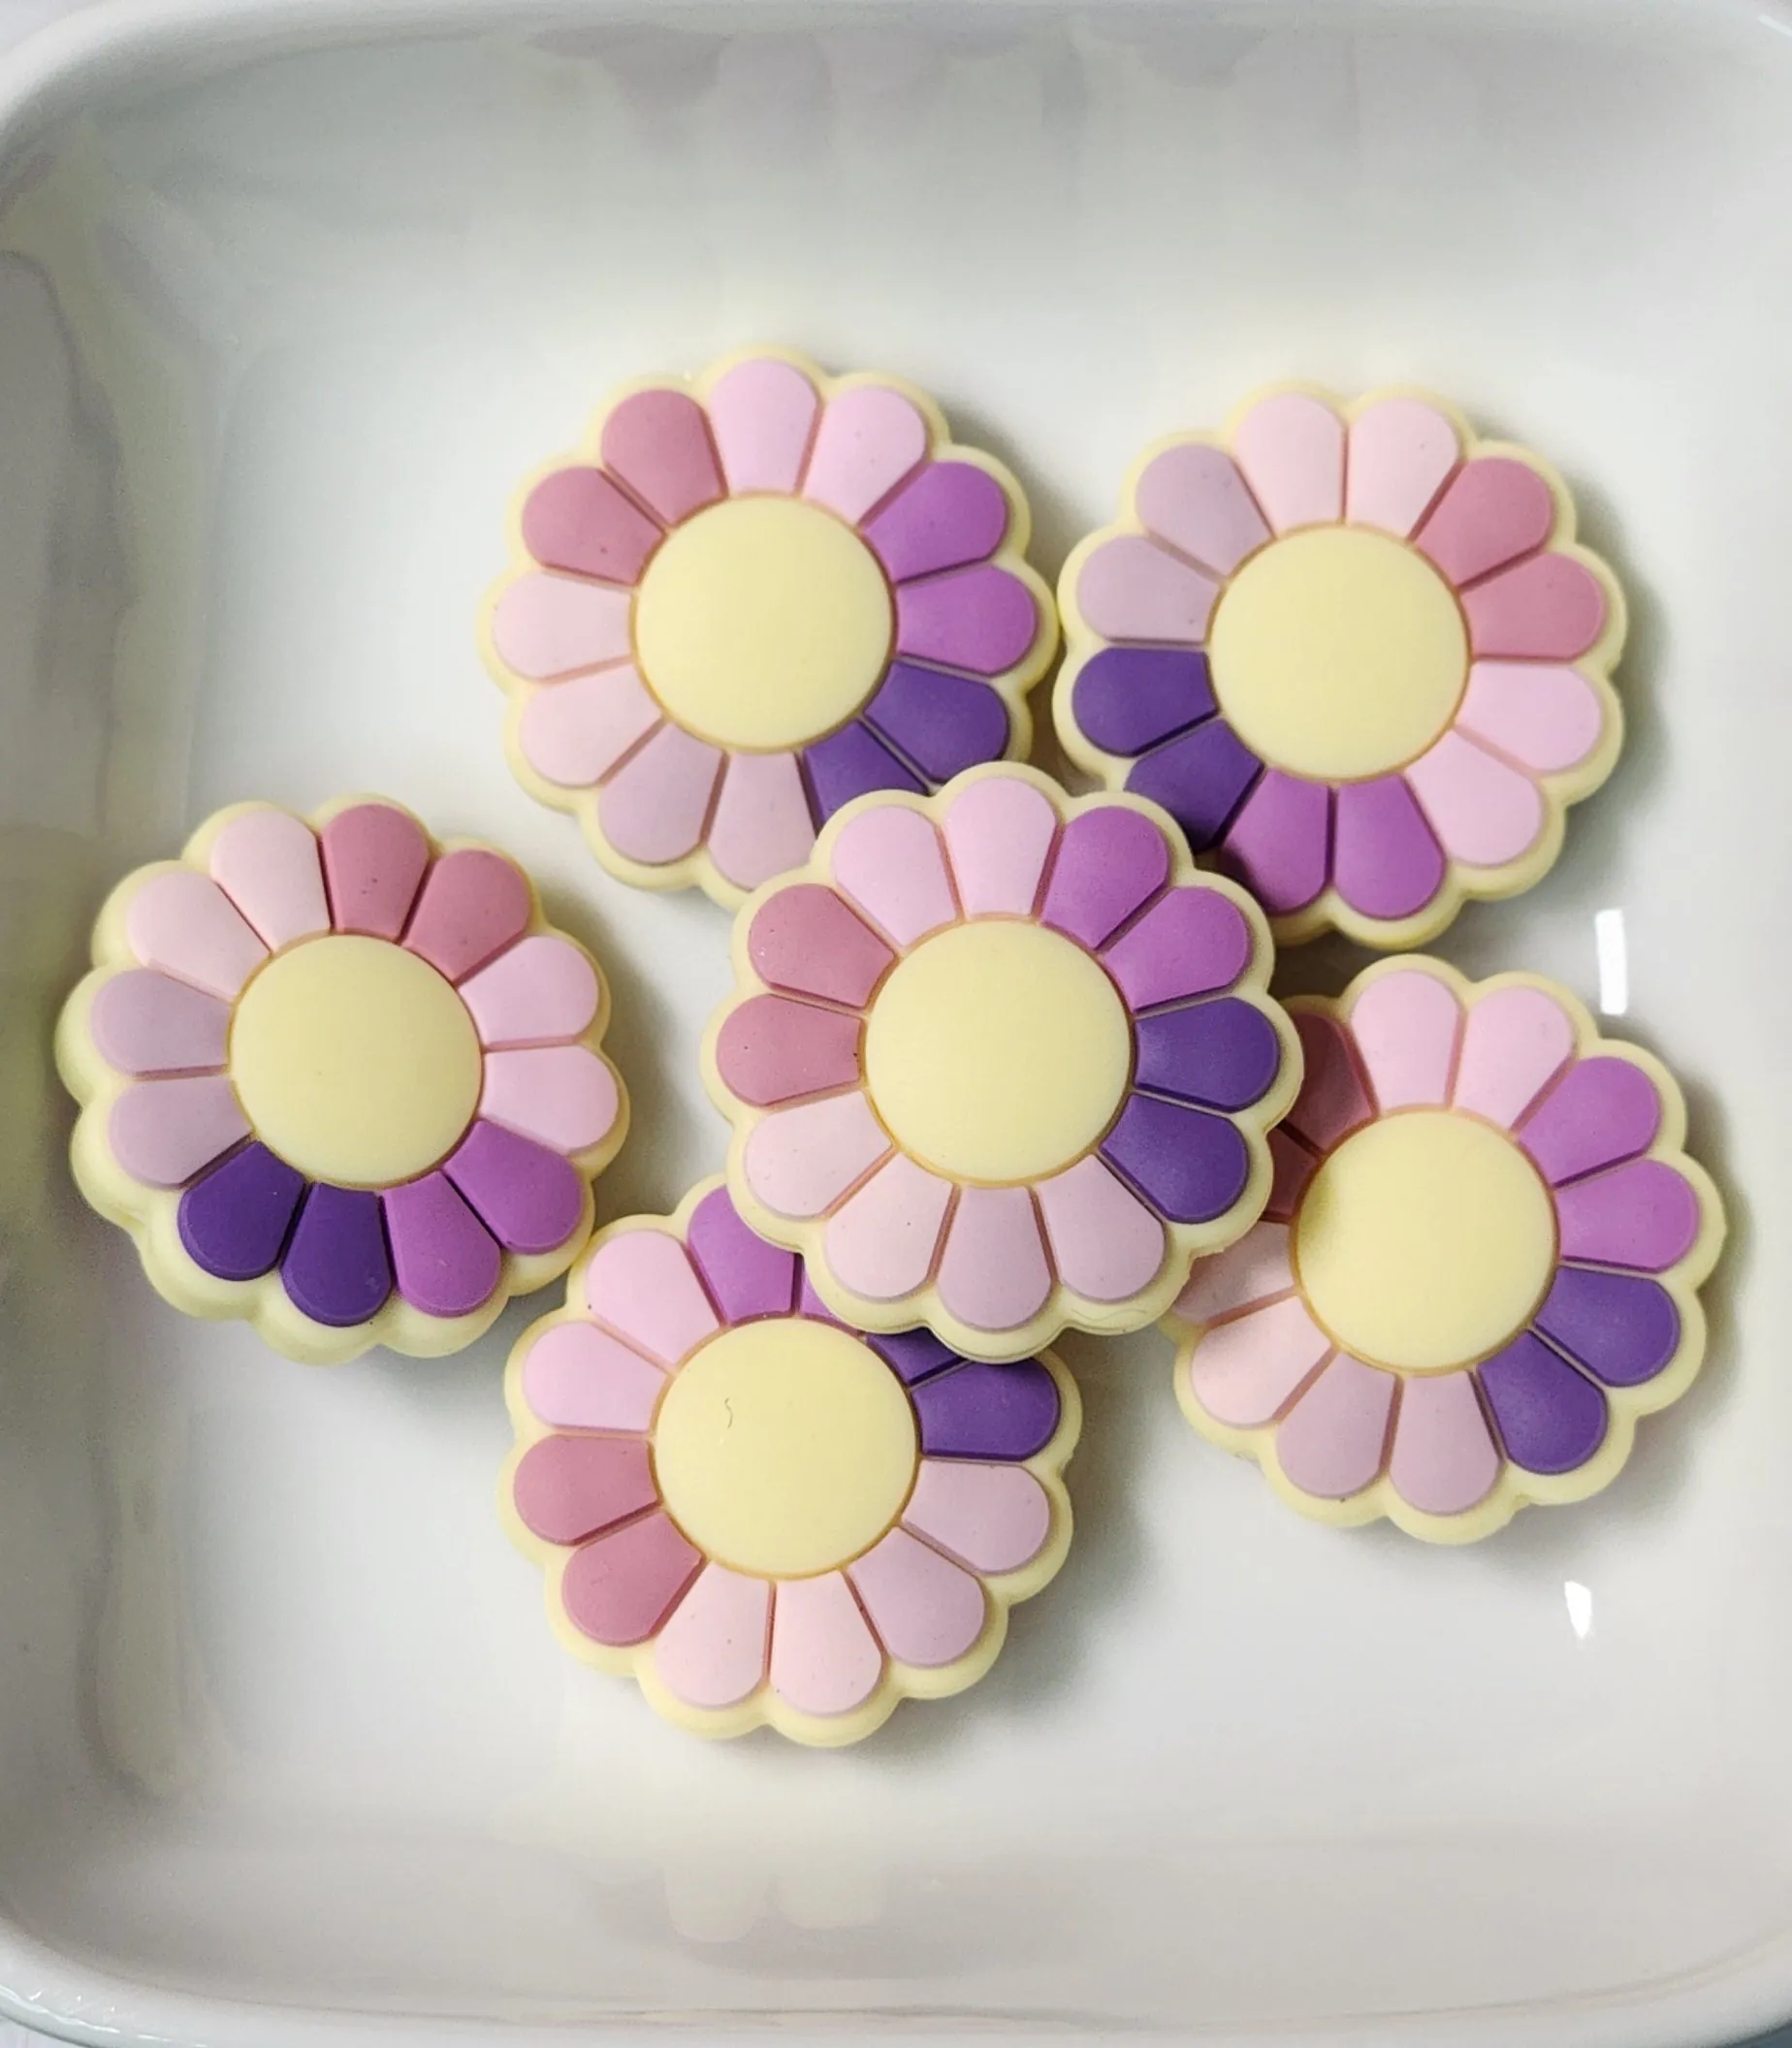
If you are choosing your own palette, begin with the silicone bead collection and bring in a focal from the silicone focal collection only when the design wants one. The beading supply checklist is a good backup when you want to make sure the practical pieces have not been left out.
4. Build a color story that reads at a glance
Wristlets have more room than a bar keychain, but they can still look crowded in a hurry. Start with two main colors. Add a neutral, a small spacer, or a focal only if it gives the design a useful pause. This creates a rhythm that is easy to see while the keychain is hanging from your hand or bag.
Try one of these simple recipes: a cheerful pair of coral and cream, a calm teal and white repeat, or three neighboring shades that move from light to dark. For a more personal piece, choose a focal that hints at a favorite hobby or season, then pull one or two colors from it. Our guide to focal beads can help you decide whether a statement piece belongs in the layout.
Three easy wristlet layouts to try
The quiet repeat: Choose two colors and alternate them around the wristlet, leaving the hardware as the only change in the rhythm. This is a great first layout because it looks finished without needing a statement bead. Try a soft color with a neutral for a wristlet that works with almost anything you carry.
The center focal: Let one favorite focal bead sit at the visual center, then mirror the colors on either side loosely rather than perfectly. Repeat one supporting color close to the focal and again near the hardware. That echo is enough to make the whole piece feel connected.
The color-block wristlet: Divide the loop into two or three gentle color groups. Keep the transition between them simple with a neutral bead or a spacer. This layout is especially sweet for a team color combination, a seasonal palette, or a gift where you know the recipient’s favorite shades.
Whichever layout you choose, decide on it before you start threading. A clear recipe gives you room to play inside the plan, instead of turning the work surface into a beautiful but confusing pile of options. Save the recipes you love in a quick note or photo so you can return to them when you need an easy, satisfying project.
5. Lay out the beads before you string
Place every piece in order on your work surface before you attach anything. This is where a project starts to feel intentional. Stand back for a moment and ask: does the eye know where to land? Is one color repeated enough to connect the design? Does the focal have breathing room, or is it competing with every bead around it?
When the answer is no, remove something before you add something. A calmer layout nearly always feels more polished. If you want a little movement, use a spacer at a transition point instead of adding another busy pattern. Take a quick photo of the arrangement once it feels right. It gives you a reference if the beads roll, and it becomes an easy recipe to repeat later.
6. Assemble slowly and follow the base instructions
Once your layout is settled, add the beads one at a time and follow the assembly steps that came with your chosen base. Keep checking that the pattern is still in the order you planned. This is especially helpful when there are repeated colors, because a single switched bead can change the balance of the whole wristlet.
Use the finishing method that belongs to that specific cord, wire, or hardware. Different bases call for different closures, so a generic shortcut is not worth the risk. A detailed wristlet tutorial from Moms & Crafters also emphasizes measuring for the hand and securing each end before the hardware goes on. Think of the finish as part of the design, not an afterthought.

Small mistakes that make a wristlet feel less finished
The most common issue is trying to fit every favorite bead into one loop. A wristlet does not need a new shape, print, or color in every inch. If the layout stops feeling calm, take away the piece that is competing hardest with the main idea. The extra bead can become the spark for your next pen, keychain, or tumbler charm.
Another easy mistake is choosing the closure last. Hardware affects where the wristlet begins and ends, how it hangs, and where a focal will face. Put the key ring or clip beside your layout at the start. It is much easier to shift a bead on the table than it is to rethink the whole sequence after it has been assembled.
Finally, do not make the loop too small in the name of a tidy fit. A wristlet that pinches at the widest part of your hand will stay in a drawer, no matter how pretty it looks. The most successful design is one you reach for without thinking. Comfort is not separate from a polished result. It is part of it.
7. Do a real-life comfort and carry check
Before the wristlet earns a place on your keys, try it the way you will actually use it. Slip it over your hand, hold the key ring, and let it hang beside a bag or cup. Check that the loop feels comfortable, the attachment sits where you expect, and the favorite details do not flip backward every time the wristlet moves.
Then give the finished piece a gentle visual inspection. Make sure the beads are seated as intended and the closures are finished according to the base instructions. This is not about tugging hard on a project. It is about noticing whether the design feels ready for its ordinary job. If a bead feels too crowded or the focal keeps turning away, make the small adjustment before you call it done.
Make a wristlet that feels like yours
Once you have one layout you love, turn it into a loose formula. Keep the same base, repeat the main colors, and switch the focal for a new season or gift recipient. A flower, favorite initial, playful acrylic detail, or small color change can make the next wristlet feel fresh without requiring a brand-new plan. That is a wonderful way to build confidence and use your supplies with intention.
Barkers makes it easy to keep the next project moving. Browse the DIY kits when you want a ready-to-make starting point, then explore acrylic beads, silicone beads, and project supplies as your ideas grow. For another small accessory project, try these beaded keychain ideas and make a matching pair.
Frequently asked questions
What do I need to make a beaded wristlet keychain?
Start with a wristlet base or cord, a key ring or clip, beads, and the finishing pieces that suit the base you chose. A few silicone beads, one focal if you want it, and a small work tray are enough for a satisfying first project.
How should a beaded wristlet keychain fit?
Plan the loop to slide comfortably over the widest part of your hand, then test it before you make the final closure permanent. It should feel easy to pick up and carry without hanging so loosely that it catches on everything nearby.
Can I use silicone beads for a wristlet keychain?
Yes. Silicone beads give a soft, colorful look that works beautifully for an everyday wristlet. Match the bead size and hole to the cord or hardware you are using, and always follow the instructions for that particular base.
How many beads should I use on a wristlet keychain?
The right amount depends on the bead size, the base, and the fit you need. Instead of counting toward a fixed number, lay out the design and test the loop around your hand before you finish it. Comfort and movement matter more than filling every inch.


