
There is something especially satisfying about taking a few colorful pieces and turning them into an accessory that feels completely your own. A tumbler charm lets you do exactly that. It can be playful, bright, themed around a favorite hobby, or kept simple enough to work with every cup you carry. Better still, it is a friendly first project when you are getting comfortable with beads, cord, and hardware.
The secret is not a complicated technique. It is slowing down for a few smart decisions before you string anything: where the charm will attach, which piece gets to be the star, how the colors will repeat, and how you will check the fit. That little bit of planning keeps the process relaxed and gives the final charm a deliberate, finished look.
Start by choosing the kind of tumbler charm you want to make
Before picking beads, look at the cup itself. Some tumblers have a handle that can hold a looped charm. Others have a lid, straw, or small attachment point where a lightweight charm can hang. The attachment method matters because it determines the shape and length of your project. A charm that looks great on a handled tumbler may not suit a cup with no roomy place to loop it.
For a first project, a short beaded strand or a loop that rests on the handle is usually the easiest route. You are working with one clear focal point, a small amount of material, and a simple fit check. Chain-and-clasp designs are another option when you want a dangling charm. A simple chain charm tutorial shows the same basic logic: choose your length first, add the decorative piece, then secure the attachment at each end.
Think about how you use the cup, too. If it rides in a car cup holder, a close-fitting charm is less likely to snag. If the tumbler is mostly carried by hand, you may enjoy a slightly more decorative piece. Either way, keep the finished charm light enough that it does not pull awkwardly on the handle or lid.
Gather a small, sensible supply set
You do not need a whole craft room to make a tumbler charm. A simple project starts with a base, a few decorative pieces, and a way to close or attach the design. Your exact supply list will depend on the style you picked, but it helps to group everything by job before you begin.
- A charm base: cord, a premade tumbler charm base, or chain, depending on the style.
- Beads: a mix of round, shaped, and spacer beads gives the design movement without making it too busy.
- A focal bead: one statement piece that gives the charm its theme.
- Attachment hardware: the ring, clasp, or closure that fits the cup and the base you chose.
- Helpful hand tools: pliers are useful for metal hardware, while scissors or cutters may be needed for the base.
If you would rather skip the guesswork on your first try, the DIY Tumbler Cup Charm Kit gives you a project-ready place to start. It lets you focus on arranging and making instead of hunting down every component separately. Keep any extra pieces in a small dish or tray while you work. Tiny hardware has a remarkable talent for wandering off the moment you look away.

Plan the color story before you string
Lay the beads out in a row before you commit. This is the easiest way to spot a color that needs repeating, a section that feels too heavy, or a focal bead that needs a little more breathing room. You are not looking for perfect symmetry. You are looking for a rhythm that feels intentional.
A reliable beginner formula is to choose one focal bead, two supporting colors, and one neutral or metallic-style spacer. Place the focal bead near the middle. Then mirror a few colors loosely on either side, allowing enough variation that it still feels handmade. For a more cheerful look, choose colors from the same family, like peach, pink, and cream. For a bolder look, use one bright focal with two quieter supporting shades.
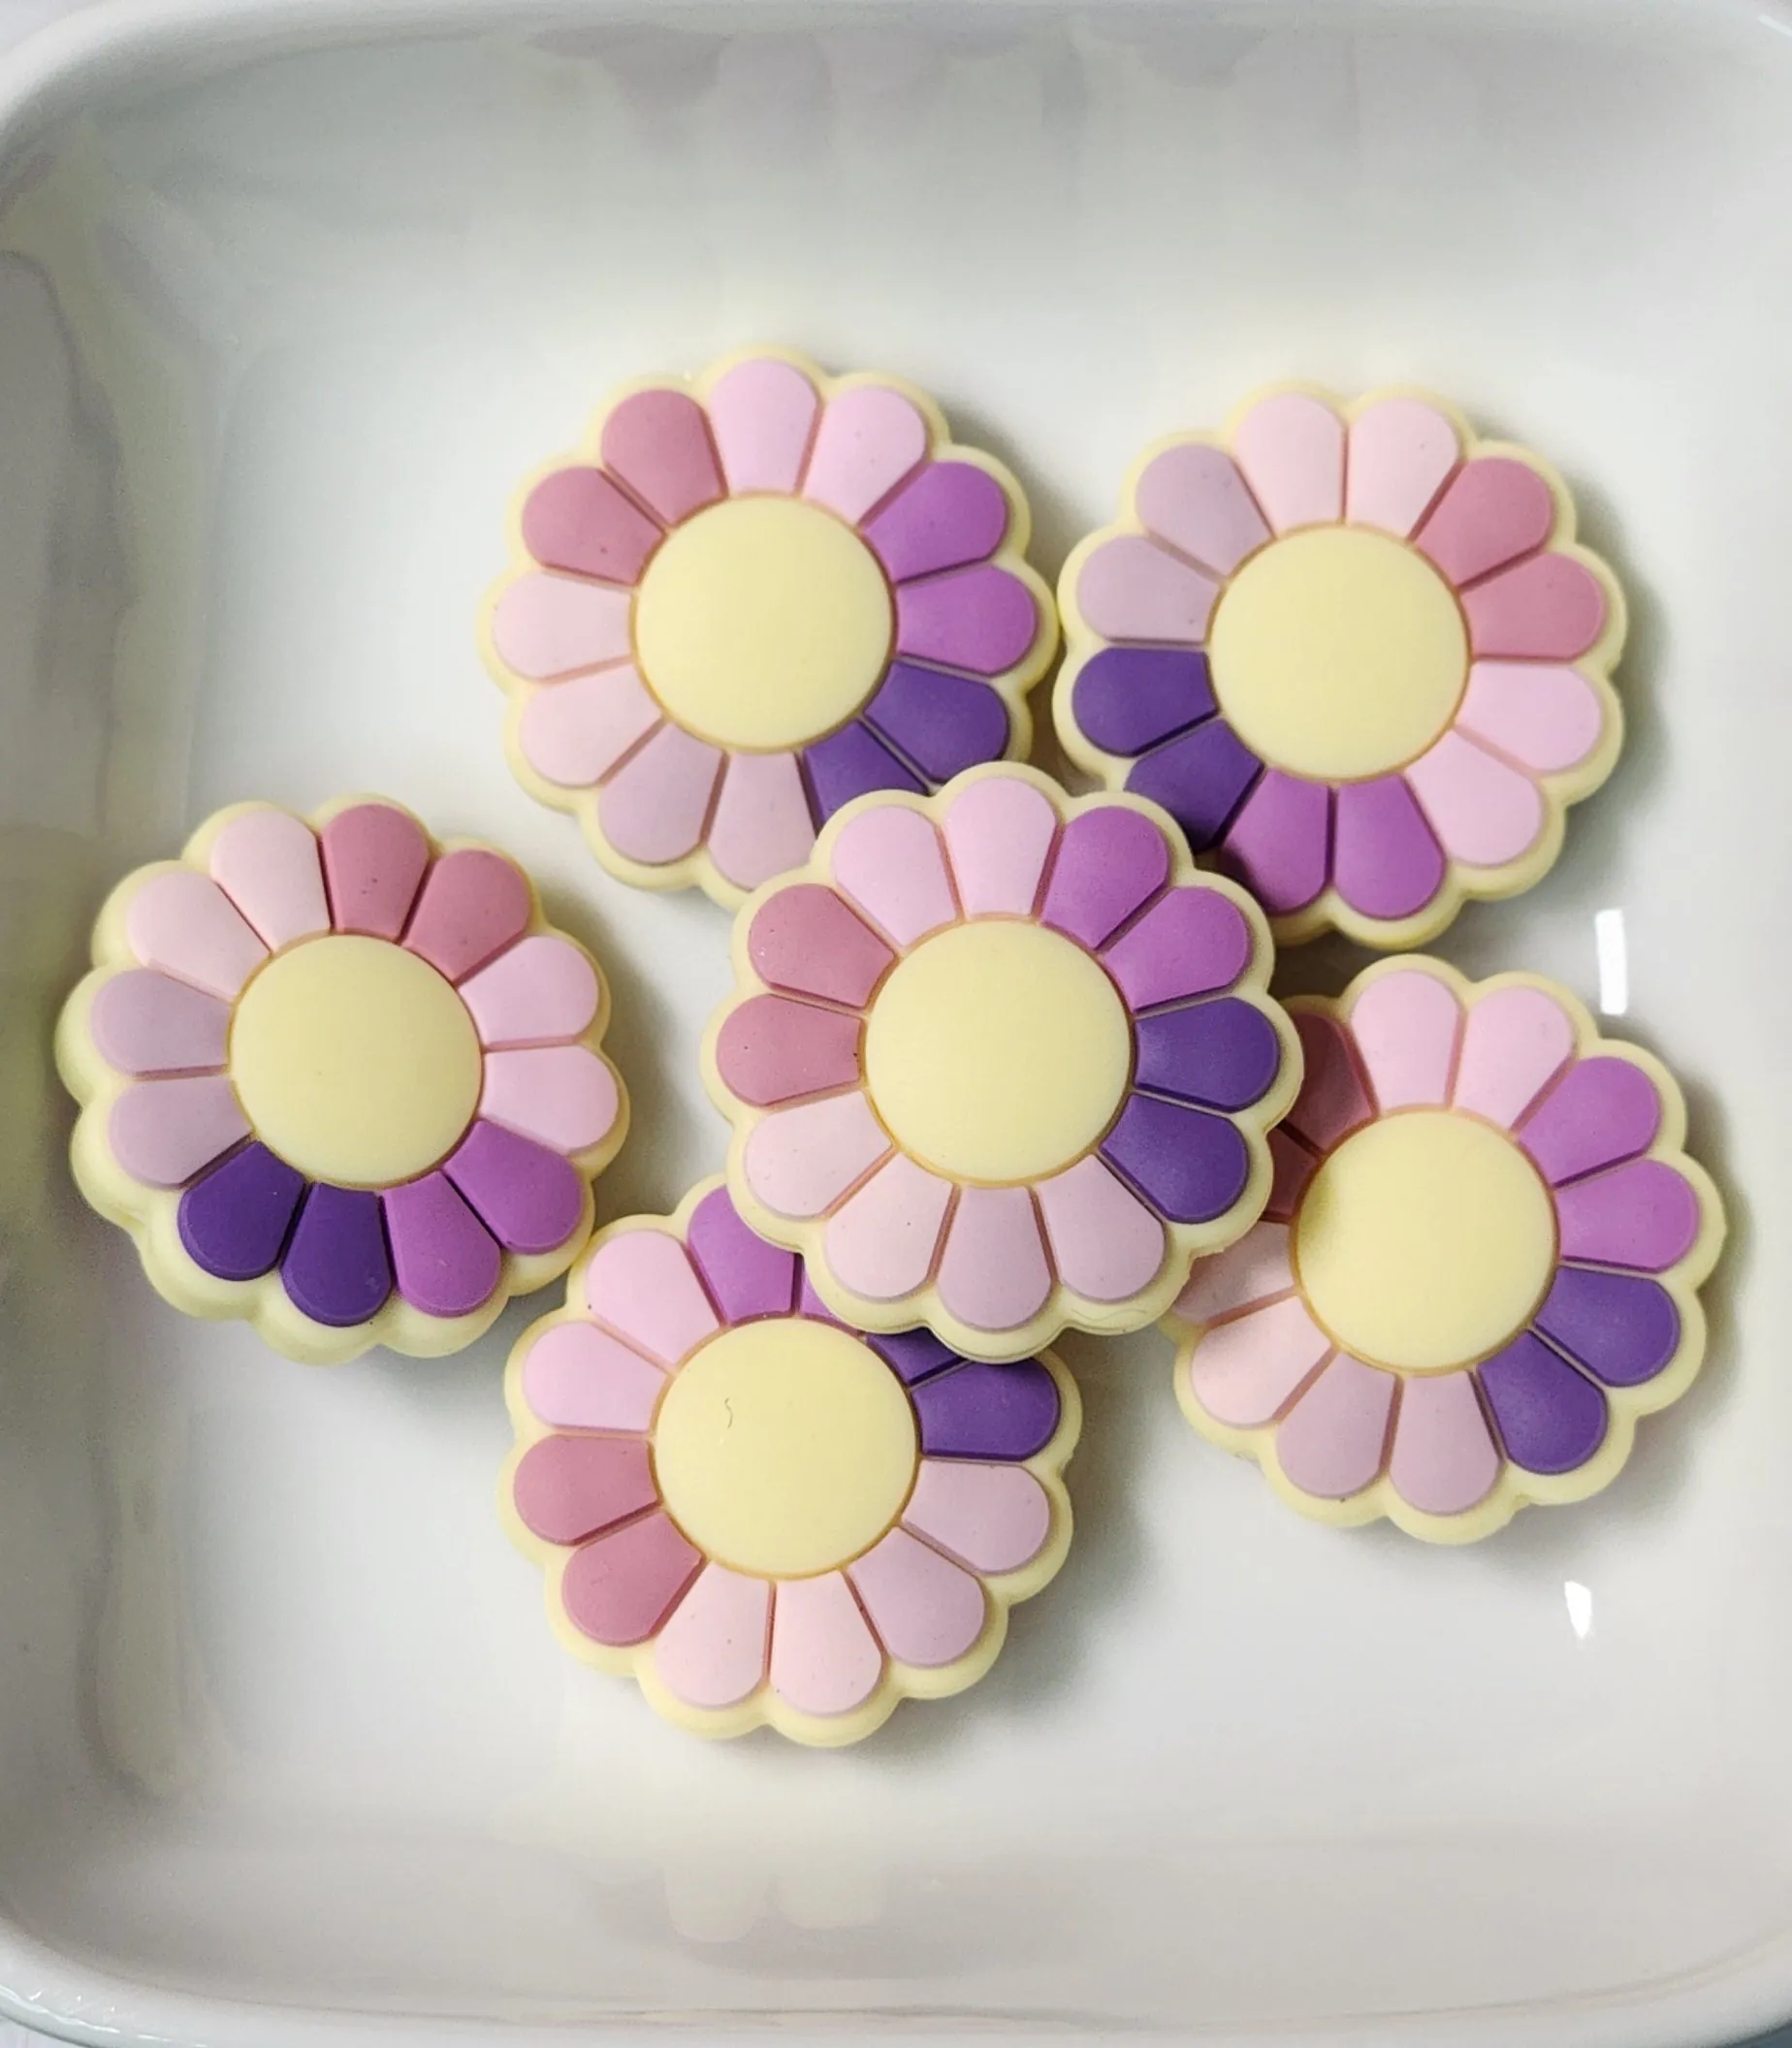
Silicone beads are a comfortable choice when you want a soft, colorful finish. Acrylic pieces can bring a little shine or a more graphic shape. Browse the silicone focal collection when you want the design to start with personality, then build the surrounding colors to support it.
Take a quick photo of your layout before assembling. It saves the design if you bump the table, and it gives you an easy reference if you decide to make a matching charm later. It also helps when you are creating gifts: make the first one, note the pattern, then swap colors or a focal bead for the next person.
Assemble your tumbler charm one piece at a time
With your design laid out, start at one end and move steadily toward the other. Do not rush to push every bead on at once. Add a few pieces, pause, and compare them with your original layout. This is especially useful when your focal bead has a front and back, a direction, or a message you want facing out.
If you are using a flexible charm base, guide each bead on straight instead of forcing it. Some makers use pliers to help guide silicone beads onto cord when the fit is snug, an approach also shown in this beaded cup charm walkthrough. Work gently and protect the cord or hardware from sharp edges. If something feels like it needs too much pressure, stop and check that the opening and base are a good match.
For chain charms, use pliers to open jump rings by twisting the ends sideways rather than pulling them apart. Add the chain and charm, then twist the ring back into alignment. That small motion helps the ends meet cleanly. For a beaded loop or cord charm, follow the closure method that came with the base or kit, then give it a careful tug before it goes near your tumbler.
The goal is a clean, secure finish, not speed. A few extra seconds checking each connection are much nicer than finding a favorite focal bead at the bottom of a tote bag later.
Test the fit before you call it finished
This is the step that makes a cute project useful. Before trimming a cord or closing the final ring, place the charm on the tumbler. Let it sit where it will normally sit. Lift the cup by the handle, turn it once, and check that the charm rests where you intended.
Ask three simple questions. Does it slide into place easily? Is it short enough to stay out of the way? Does the focal bead face forward when the cup is held? If the answer to one is no, adjust now. You may need to remove one bead, add a spacer, or switch the attachment point. Those are normal little refinements, not mistakes.
For a handle-style tumbler, leave a touch of room so the charm can move without pinching. For a dangling charm, check that it does not knock against the cup in a way that feels annoying. A smaller, balanced design often wears better than the longest or busiest option.
If the first version feels off, use this quick reset
Nearly every maker has a moment when a project looks better on the table than it does once it is attached. That is useful information, not a failed project. Take the charm off and identify the one detail that is bothering you. Is the focal bead too low? Does one color repeat too often? Is the loop sitting at an awkward angle? Change just one thing before making another adjustment. Small changes are easier to judge, and they prevent a simple design from becoming crowded.
When in doubt, simplify. Remove one bead instead of adding three more. Let the focal bead have a little space. Repeat one supporting color near each end to make the design feel tied together. If you are making several charms, line them up after each is finished. The small differences will show you which proportions you like best, and that becomes your personal starting formula for the next project.

Give the design a polished maker finish
Once the fit feels right, look at the charm from a few steps back. This helps you see it as an accessory instead of a work-in-progress. If one side looks much fuller than the other, move a spacer or trade a bead. If the focal is getting lost, make the surrounding colors calmer. If the design feels almost right but a little flat, one shaped bead or wavy spacer can create a gentle change in texture.
Wipe the tumbler down before you attach the charm for the day, especially if it has been sitting near beads, packaging, or a busy work table. Store your finished charm somewhere dry when it is not in use, and check closures from time to time. A quick look before you leave the house is enough to catch a jump ring that needs to be pressed closed again.
If you are making charms as gifts, build the presentation into the project. Choose a focal that nods to the recipient’s favorite color, hobby, or season. A handmade tumbler charm feels thoughtful because it is small enough to be personal, useful enough to be carried, and different enough to make an everyday cup feel special.
Make it your own with Barkers Creative Designs
The best tumbler charm is the one that makes you smile every time you reach for your cup. Start simple, let one focal bead lead the design, and give the colors room to do their job. When you are ready for your next variation, browse the DIY kits for a ready-to-make starting point or explore the shop for supplies that fit your own idea.
You do not need to get it perfect on the first try. You just need a few pieces you like and the willingness to see what happens when you put them together. That is where the good maker magic lives.
Frequently asked questions
What do I need to make a tumbler charm?
Start with a charm base or cord, beads, a focal bead if you want one, and the attachment hardware that fits your cup. A ready-made kit is a simple way to begin because the core pieces are already chosen to work together.
How long should a tumbler charm be?
Make the decorative strand long enough to sit comfortably on the handle or attachment point without dragging against the cup. Test the fit before you finish the ends, because tumbler handle shapes vary.
Can beginners make a tumbler charm?
Yes. The project is approachable when you arrange the design first, add one piece at a time, and test the attachment before calling it finished.