
Beaded keychains are wonderfully low-pressure. They are quick to plan, easy to personalize, and small enough that you can try a color combination without committing to a whole afternoon of making. The best ones have one clear idea. Maybe it is a happy color pair, a flower focal, a tiny reminder of someone’s favorite hobby, or a gift that says, “I thought of you.”
Before you choose beads, take a look at the base or hardware you are using. It sets the size, shape, and amount of visual space you have to work with. A straight beadable bar is lovely for a tidy stack. A wristlet has more room for repetition and movement. Whatever you choose, put the pieces in order on the table first. It is the simplest way to see whether the design has a clear focal, a steady rhythm, and enough breathing room.
Start with a small design rule
A keychain can get busy quickly because every piece is close together. Give yourself one friendly rule before you begin: use only two colors, build around one focal, repeat a shape, or choose a theme. A rule does not make the project less creative. It makes the next choice easier and lets the favorite detail stand out.
If you are gathering supplies from scratch, start with a beadable bar keychain, then choose supporting colors from the silicone bead collection. If your project includes cord, rings, or other finishing pieces, the beading supply checklist is a useful place to double-check the practical details before you assemble.
1. The one-focal keychain
Choose one bead with a shape, pattern, or theme you genuinely like. Place it where the eye will land first, then add a few quieter supporting beads around it. This is the easiest way to make a keychain feel intentional without overthinking the layout.
Let the focal lead the palette. Pull one or two colors from it, then repeat those shades in your supporting beads. If the focal is detailed, keep the rest of the design calm. If it is simple, a contrasting spacer or a second finish can add a little sparkle. Our guide to focal beads can help you spot the piece that should lead.
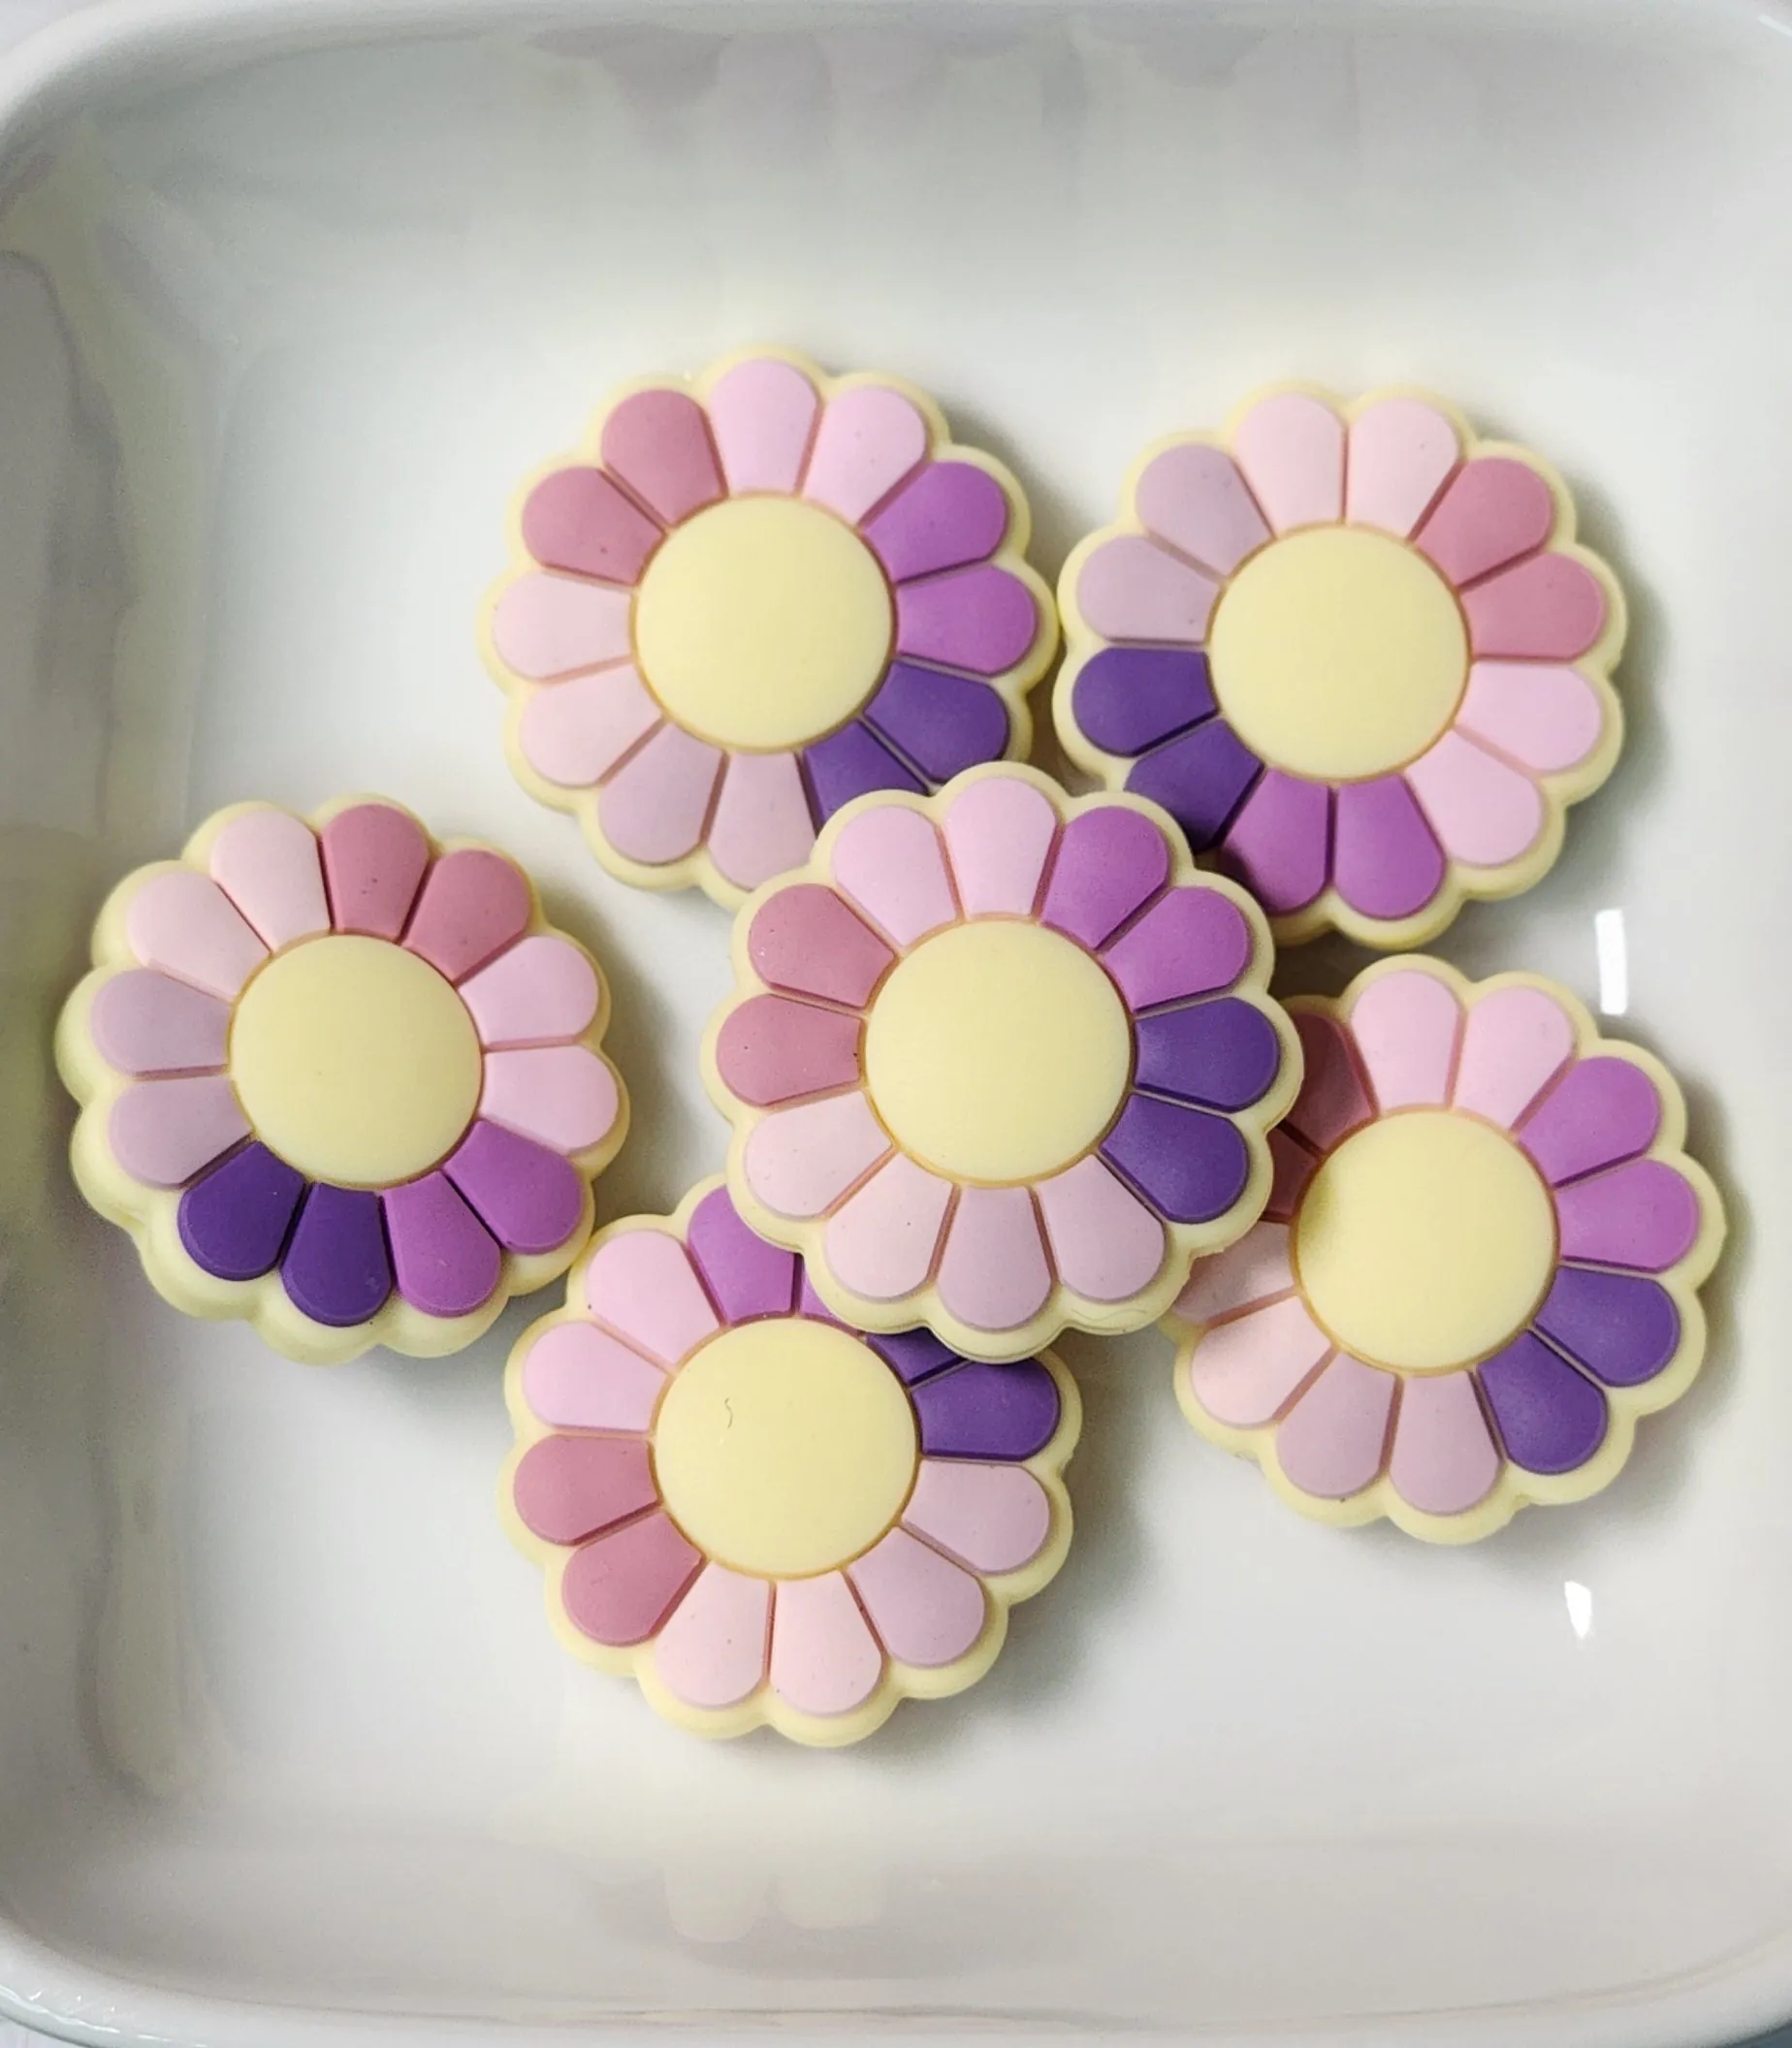
2. The two-color repeat
Pick two colors that make you happy together and alternate them in a simple rhythm. Cream and coral feel warm, teal and white feel fresh, and berry with a soft pink has a playful depth. The secret is not perfect symmetry. It is a repeat clear enough to read when the keychain is swinging from a bag or a set of keys.
Lay out the pieces in a row before you begin. If one color keeps taking over, make it the main shade and let the other appear as an accent. A two-color repeat is also a great option when you want to make several small gifts that feel connected without being identical.
3. The soft pastel stack
Pastels work beautifully when you want the keychain to feel light and cheerful. Start with two related shades, then add a cream, white, or soft clear-looking detail to give the colors a quiet pause. This is a lovely recipe for spring gifts, desk accessories, or a little pick-me-up attached to a tote.
Keep the shapes fairly consistent so the palette gets the attention. A few coordinating bead mixes can make a first layout easier, especially when you want to audition colors without sorting through a large collection. Take a quick phone photo once the arrangement looks right. It becomes a handy recipe if you want to make the design again.

4. The favorite-hobby keychain
A small theme is often all a gift needs. Think about what makes the recipient smile: baking, reading, plants, music, sports, travel, or a beloved pet. Choose one focal that nods to that interest, then build a quiet color story around it. The theme should feel like a wink, not a costume.
For example, a bookish focal might pair beautifully with warm brown, cream, and a tiny gold-toned spacer. A garden-inspired design could use greens, pinks, and a flower. Keep one color repeating through the keychain so the theme feels pulled together instead of like a collection of unrelated pieces.
5. The name or initial detail
Personalized keychains make sweet teacher gifts, party favors, and just-because surprises. A single initial can be enough. If you use a name or short word, make it the main element and give it uncomplicated neighbors so it stays readable.
Before you commit, line up every letter beside the hardware and check the overall length. A small project has limited room, and a shorter message usually feels more polished. When there is no room for a name, use the recipient’s favorite color and an initial focal instead. The feeling still lands.
6. The texture mix
When your colors are simple, texture can make the design more interesting. Pair soft matte silicone beads with one glossy acrylic piece, a shaped spacer, or a small rhinestone detail. Each material should have a job. One adds calm color, another catches the light, and the focal gives the keychain its personality.
Do a quick touch test before finishing. A keychain moves through pockets, bags, and busy days, so choose a design that feels comfortable to handle and does not rely on a lot of sharp or fussy pieces. The goal is a little contrast, not a pile-up of texture.

How to keep a small design balanced
Balance is less about making both sides identical and more about giving the eye a comfortable path to follow. Start with the piece that matters most. If it is a large focal, give it a little quiet space around it. If it is a word or initial, let the letters be the clearest part of the layout. Then repeat one color, shape, or finish somewhere else in the keychain to make the whole design feel connected.
When something feels off, resist the urge to add more. First remove the bead that competes most with your focal. Next, see whether one supporting color needs to be repeated. Finally, ask whether a spacer would create a useful pause. These tiny edits are usually more effective than starting over. A keychain only needs one clear story.
Try holding the unassembled pieces at arm’s length, then take a photo and look at it on your phone. A screen makes it easier to spot a color that landed in the wrong place or a focal that needs more room. Once you can see the design clearly in a quick photo, it will usually read well when it is hanging from keys or a bag.
7. The seasonal color story
You do not need a themed bead in every spot to make a seasonal keychain. Use the season as a palette instead. Warm berry, orange, and cream can feel autumnal. Red, green, and a small metallic detail feel festive. Soft yellow, pink, and blue bring a spring mood without locking the finished piece to one holiday.
Choose one seasonal focal only if you want a stronger theme. Otherwise, let the colors do the work. This makes the keychain easy to carry after the occasion has passed, and it gives you a repeatable recipe for batches of gifts.
8. The matching pair
Two keychains can coordinate without being clones. Choose one shared color or spacer, then give each one a different focal or accent. A pair might share a coral bead while one has a flower and the other has a bright acrylic shape. They feel like they belong together, but each has its own little point of view.
This idea works beautifully for friends, parent-and-child gifts, or a small market collection. Make the first one all the way through, then photograph the arrangement before building the companion piece. That tiny record makes matching the rhythm much easier.
9. The project you can repeat
When you find a design you love, turn it into a loose recipe. Write down the focal, the two main colors, the spacer, and the order you used. Next time, keep the structure and change one part. Swap a spring focal for a holiday one, trade the accent color, or use the same palette on a beadable ink pen.
Repeating a simple recipe is how a small pile of supplies starts to feel useful instead of overwhelming. You get better at noticing which colors work together, which details feel comfortable, and which designs you want to make again. The point is not to produce identical keychains. It is to give yourself an easy starting place for the next idea.
Make it useful, not just pretty
A keychain is handled more than many small handmade accessories, so a practical check belongs in the creative process. Make sure the attachment is appropriate for the hardware you selected, and test the finished piece gently before it goes onto a favorite set of keys. If the design will live on a bag, zipper, or wristlet, hold it in that setting and make sure the length and movement feel right.
Think about where the favorite detail sits when the keychain is in use. A focal that looks perfect on the table may twist behind the hardware once it is attached. Move it, simplify the supporting beads, or choose a different base if the design does not stay easy to see. Those small adjustments are what turn a cute arrangement into an accessory you will enjoy reaching for every day.
It is also worth saving the pieces that do not work in this particular layout. A color combination that feels too energetic for a keychain might be perfect for a tumbler charm, a wristlet, or a pen. Makers build confidence by collecting these near-miss ideas, not by expecting every first layout to be the final one. Keep a small tray for combinations worth revisiting. Your next favorite project may already be sitting there, waiting for a different base or a calmer supporting color.
A quick check before you call it finished
Look at the keychain from arm’s length away. Does one detail lead the design? Are the colors repeating enough to feel connected? Does the hardware suit the way you plan to use it? Then give each part a gentle check before carrying or gifting it. A thoughtful layout and a secure finish make a tiny handmade accessory feel genuinely special.
When you are ready to gather pieces, Barkers has colorful silicone beads, personality-packed silicone focals, bright acrylic beads, and practical project supplies for the next keychain on your list. Start with one favorite piece, give it a simple supporting cast, and let the project become yours. A little plan leaves plenty of room for play with confidence.
Frequently asked questions
What is the easiest beaded keychain idea for a beginner?
A beadable bar keychain is an easy first project because the base gives the beads a clear place to go. Choose one focal or color story, line up the pieces before assembling, and keep the design simple enough to see at a glance.
How many colors should I use on a beaded keychain?
Two or three colors are usually plenty for a small keychain. Start with one favorite shade, add one supporting color, and use a neutral or spacer only when the design needs a visual pause.
Can I mix silicone and acrylic beads on a keychain?
Yes, as long as the pieces fit the hardware you are using. Silicone brings a soft matte look, while acrylic can add shine, pattern, or a playful focal. Lay the full arrangement out first so the materials feel intentional together.
How do I make a beaded keychain feel giftable?
Choose a theme that belongs to the recipient, such as a favorite color, hobby, season, initial, or cheerful little focal. A simple repeated palette often feels more personal than trying to use every pretty bead at once.

