
When you first hear the phrase “focal bead,” it can sound more technical than it is. It simply means the piece that asks to be noticed first. In a bright beaded pen, it might be a playful shape in the middle. On a keychain, it may be the little character, pattern, or color that makes someone smile before they have even picked it up.
That does not mean a focal has to be the biggest bead in the room. It has a job: it gives the design a starting point. Once you choose it, the rest of the choices get easier. Your supporting beads can echo one color, your spacers can add a little breathing room, and your hardware can suit the way the project will actually be used. That is a much more relaxed way to make something you love.
What makes a bead focal?
A focal bead is the visual lead in a project. It often stands out through shape, color, detail, texture, or placement. A flower, a cheerful spinner, an animal, a seasonal icon, or a bold acrylic shape can all take that role. But the role belongs to the finished design, not only to the product name.
Try this simple test before you assemble anything. Lay out your pieces, then glance at the arrangement from an arm’s length away. Where does your eye land first? If it lands on the piece you want to feature, you have a clear focal. If your eye hops around or lands on an accidental bright spot, move a bead, remove a competing color, or give your favorite piece a little more space.
This is why two projects can use the same materials and feel completely different. A bead that shines in the center of a beaded pen may be better near the hardware of a keychain. The focal is not a strict formula. It is the part of the arrangement that gives the whole piece its personality.
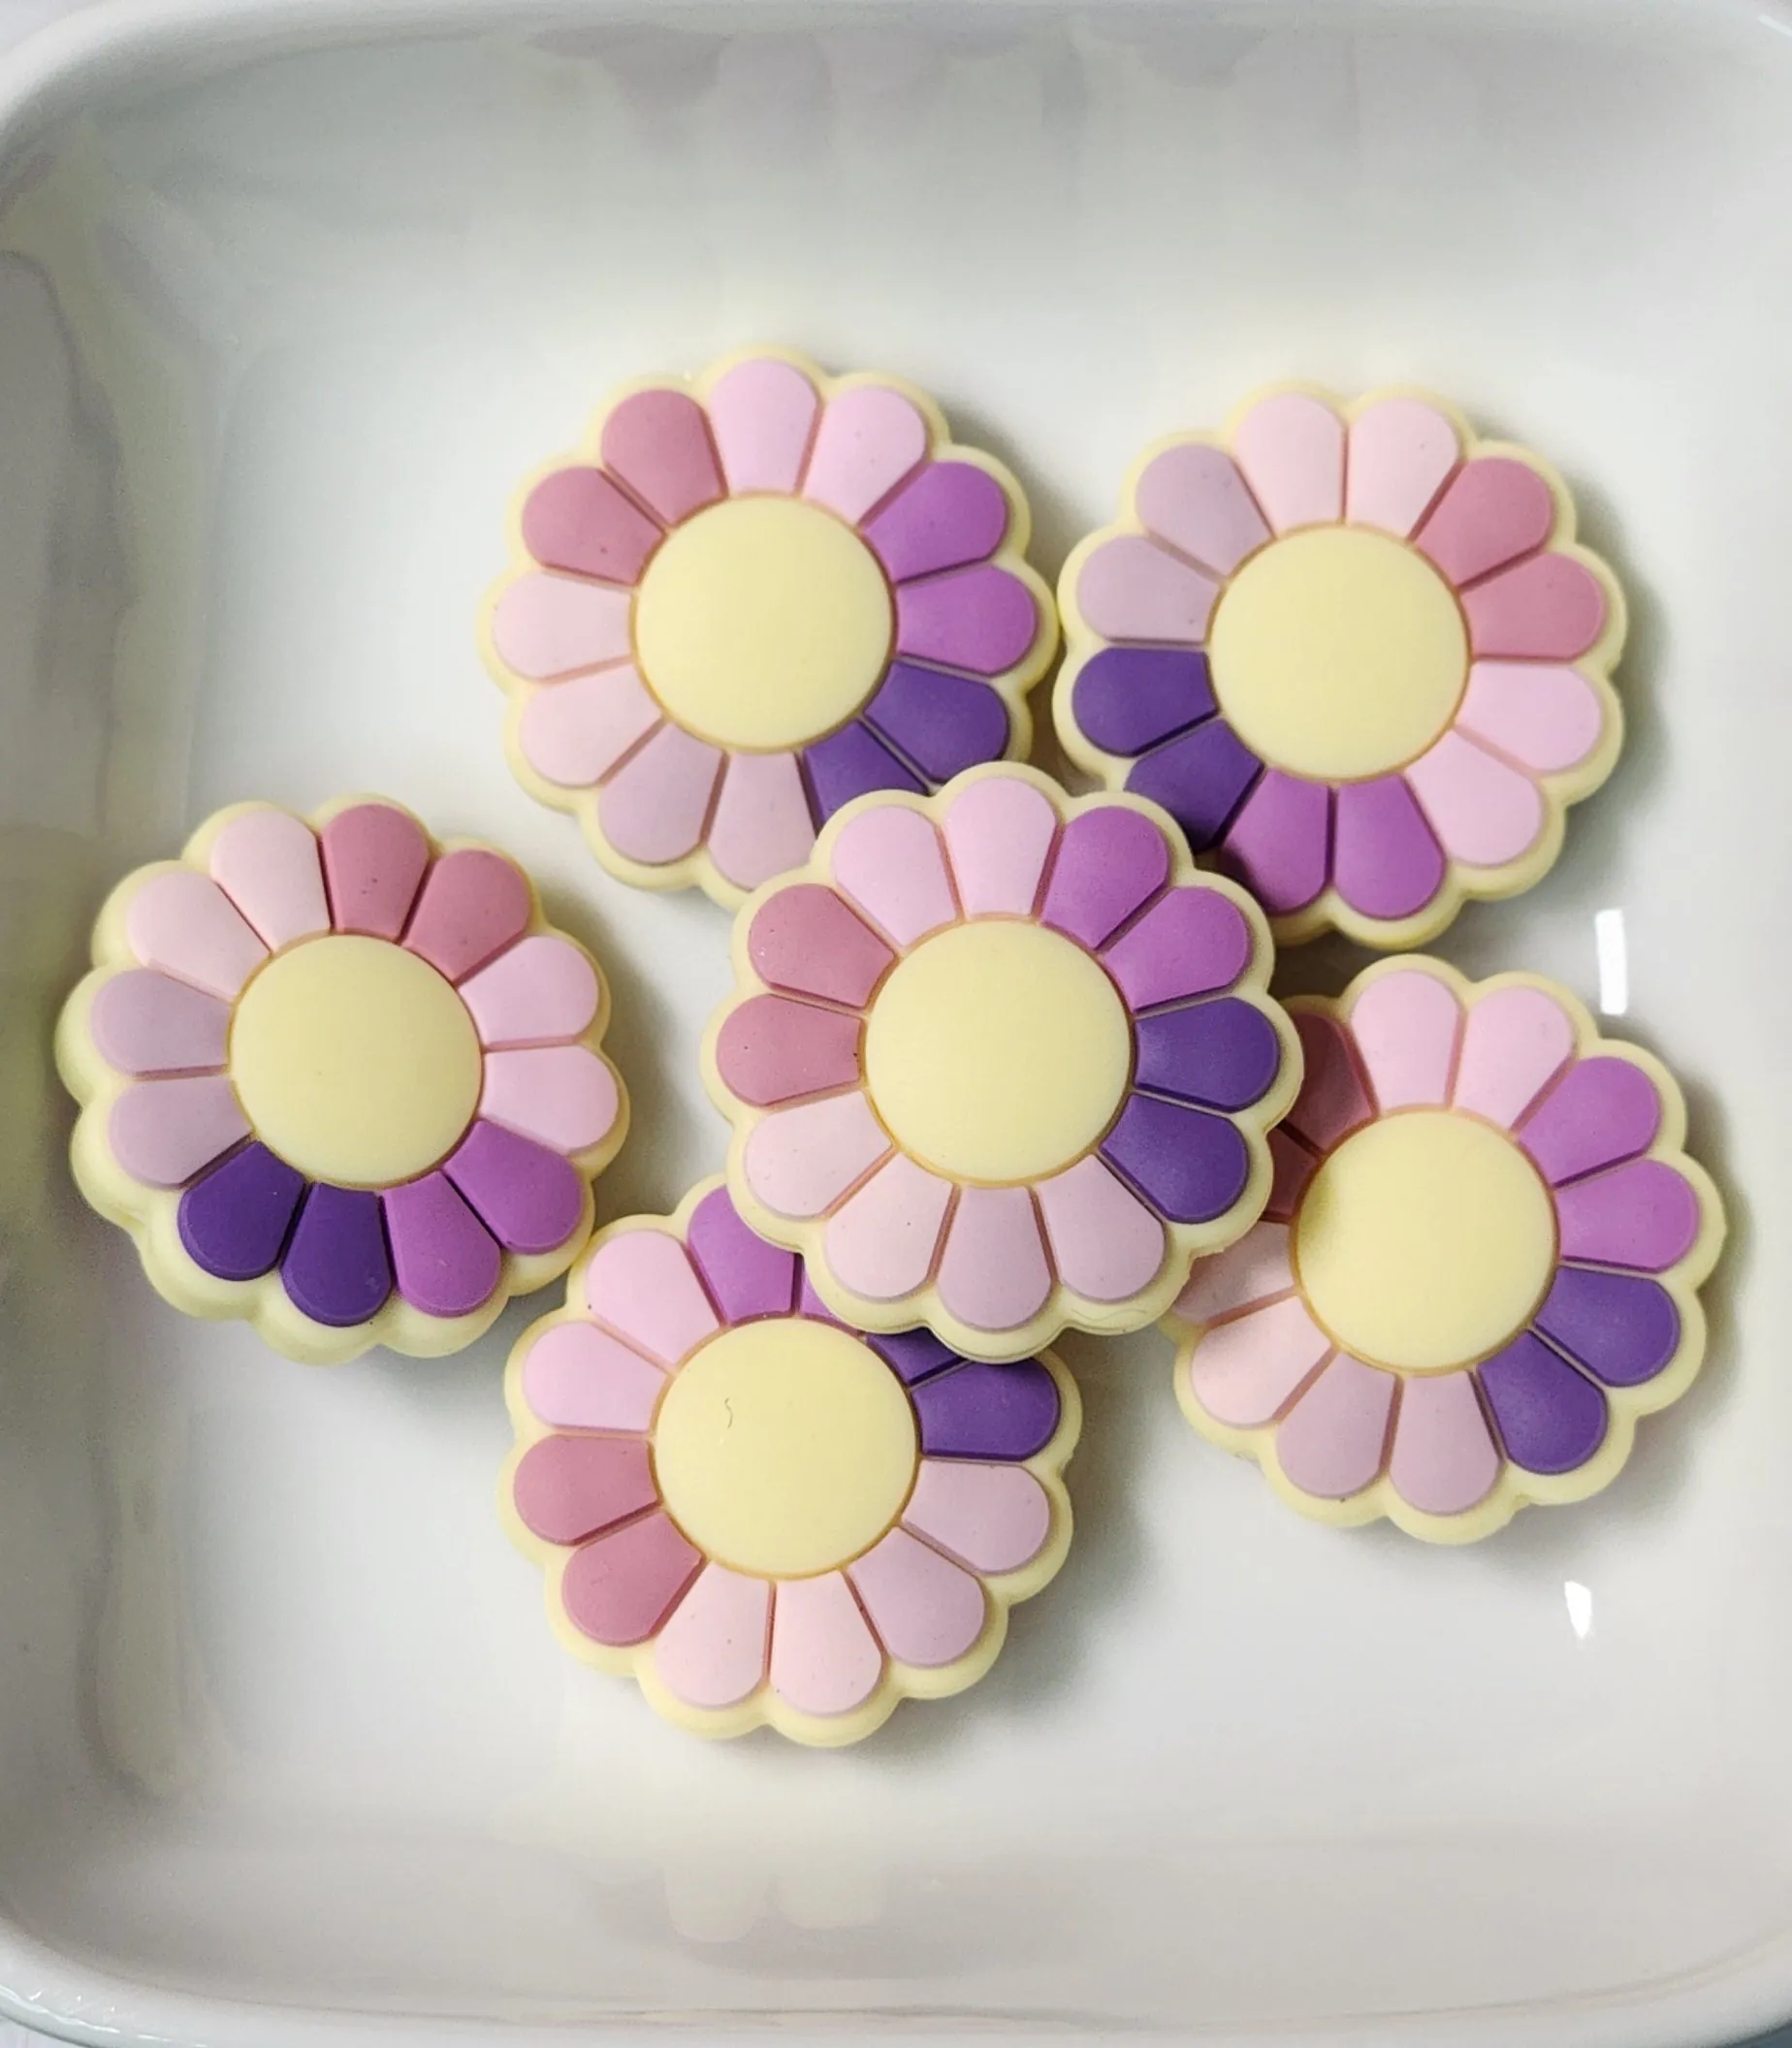
Focal beads versus supporting beads
Supporting beads are not background extras. They make the focal bead look intentional. Think of them as the color and rhythm around the main idea. Solid silicone beads can repeat a shade from the focal. Acrylic beads can bring a little shine. Spacers can keep a detailed focal from getting visually crowded.
A useful beginner formula is one focal, two supporting colors, and one quieter detail. Start by choosing a focal you genuinely like. Pull one or two colors from it for the surrounding beads. Then add a neutral, metallic-style, or textured spacer only if the design needs a pause. The goal is not perfect symmetry. It is a design that feels balanced when you hold it up.
If the focal has lots of pattern or tiny details, keep the neighboring beads simpler. If the focal is calm and graphic, you have room for a more playful mix around it. For example, a soft flower focal can look lovely with coordinating solids and a few rhinestone beads. A bold acrylic focal may only need a few colors from the acrylic bead collection to feel finished.

Choose the focal first, then choose the project
It is tempting to buy a pile of pretty beads and decide later what they will become. That is fun, but a little reverse planning makes the next step easier. Before you build around a focal, decide what you want the finished item to do. A pen needs pieces that fit its barrel. A wristlet needs comfortable movement. A cup charm needs a secure attachment and a shape that will not feel fussy every time you lift your drink.
For a quick, beginner-friendly project, a beadable keychain is a lovely place to start. There is enough room to create a clear color story, but the project stays small enough to test and refine. A beadable bar keychain gives you a clean base for trying one focal with two or three coordinating pieces.
When you want more of a giftable accessory, a wristlet lets the focal carry a theme without making the whole piece busy. For a practical first try, the DIY 10 inch Wristlet Kit offers a project-ready place to begin. If a tumbler is your everyday favorite, our tumbler charm guide walks through planning the length, fit, and attachment before you commit to a final arrangement.

Use color to help the focal do its job
Color is often the easiest way to make a focal feel at home. Start by naming two or three colors you can see in the focal itself. One can become the main supporting color. Another can appear once or twice as a small echo. If the focal is very colorful, add a calm neutral between brighter beads so the project does not turn into a visual tug-of-war.
For a gentle, coordinated look, repeat the focal’s lightest shade near both ends of the design. For a bolder look, choose one contrasting color that appears only in small doses. Either way, take a photo of the layout before you string it. A phone photo makes it much easier to spot whether one section is getting too busy or whether a color needs to move closer to the focal.
Do not feel pressure to match every color exactly. A project can feel cohesive because the colors share a mood, not because they are identical. Warm pink, peach, and cream can support a floral focal beautifully. A strong teal, black, and white mix can give a graphic acrylic piece a confident look. The best choice is the one that still makes you happy after you put the finished project down for a minute and look again.
Placement matters, but center is not the only answer
Center placement works because it is naturally easy to read. It is especially helpful on a beaded pen, a straight bar keychain, or a symmetrical cup charm. Put the focal down first, then build outward with a loose repeat of your supporting colors. If one side ends up slightly different, that is fine. Handmade does not need to mean mathematically mirrored.
Off-center placement can be just as effective when the hardware calls for it. On a keychain, a focal may look best close to the clasp or ring. On a wristlet, it can sit where it will be seen without pressing into the hand. The practical question is simple: when the item is being used, will the focal still look and feel good? Give the project a gentle shake, hold it as you normally would, and check that nothing twists or crowds the main piece.
A quick focal-bead plan for common projects
For a beadable pen: choose a focal that tells the story first. It might be an animal, a flower, a favorite food, or a seasonal motif. Keep the neighboring pieces smooth and simple so the pen stays comfortable in the hand. A small repeat of the focal’s main color on each side helps the design look considered without making it feel stiff. If the focal is detailed on both sides, turn it as you add each piece so its best face will show when the pen is resting on a desk.
For a keychain: think about movement. The focal may swing, turn, or brush against keys, so choose a placement that still reads when the piece is hanging. A beadable bar makes the focal easy to see, while a ring-style keychain can look lovely with the focal closer to the hardware. Add just enough supporting color to make the focal feel connected, then leave some visual calm. A keychain has a small canvas. One good idea beats five competing ones.
For a wristlet: start with comfort as well as color. Place the focal where it can be noticed without becoming the spot that always presses into your palm. You can use an obvious centerpiece, or let a focal sit slightly to one side and use a repeating bead mix to create rhythm around it. Browse bead mixes when you want a friendly starting palette, then pull out only the colors that support the focal instead of trying to use every piece in the bag.
For a cup charm: the focal should be fun, but the fit has the final say. Test the length and attachment on the actual cup before you close the final ring or trim the cord. A dangling focal that looks perfect on the table can feel too busy when it taps against the cup. Build with the pieces you enjoy, then edit down until the charm sits neatly. The project should add personality to your everyday drink, not create a tiny obstacle course around it.
Across all four projects, the same habit helps: lay out the whole design before you assemble it. Move the focal, take a photo, and come back after a quick break. Fresh eyes can tell you whether the project has one clear lead or whether it needs a little less color, a little more spacing, or a different order. That small pause is often what turns a pile of lovely supplies into a finished piece you want to show off.
Keep a small note of the combinations that work, especially when you make gifts or want to repeat a favorite design. A quick photo and three words such as “flower, peach, cream” are enough to jog your memory later. The next project will still feel handmade, but you will have a trusted starting point instead of beginning from scratch every time. Trust your first good instinct, too.
Three easy fixes when the design feels off
- The focal disappears: remove one nearby patterned or high-contrast bead, then give the focal a solid-color neighbor.
- Everything feels too loud: keep one statement piece and swap the rest for two calmer supporting colors.
- The piece feels unfinished: repeat a color from the focal near an end, or add a spacer where the arrangement needs a little pause.
Change one thing at a time. When you adjust three details at once, it becomes hard to tell what actually improved the layout. Small edits are part of the making process, not proof that you got it wrong. The same focal can lead a sweet pastel keychain one day and a bold themed pen the next.
Find the focal that starts your next idea
Barkers carries both silicone focals and acrylic focals for makers who want a project to begin with a little character. Start with the piece that makes you grin, choose a project base that suits your idea, and let the supporting colors do their quiet, useful work.
You do not need to wait for a perfect plan. Choose one focal, lay out a few neighbors, and see where the design wants to go. That is usually where the good ideas are hiding.
Frequently asked questions
What are focal beads?
Focal beads are the pieces that give a handmade design its visual starting point. They may be larger, more detailed, brighter, or simply placed with more breathing room than the surrounding beads. Their job is to set the theme and guide the rest of the design.
Do focal beads have to go in the center?
No. Center placement is an easy option for balanced projects, but it is not a rule. A focal can sit toward one end of a keychain, at the base of a wristlet, or wherever it feels natural for the hardware and the way the finished piece will be used.
How many focal beads should I use?
One is a simple starting point for a beginner project. You can use more than one when they repeat intentionally, but leave enough calm space around them that the design still has a clear lead instead of several pieces competing for attention.
Can I use acrylic and silicone beads together?
Yes. Mixing materials can add contrast, as long as the opening, hardware, and overall fit work for the project. Try one material as the statement piece and use the other for supportive color, texture, or spacing.
