
How to Use Mini UVDTF Transfers: Step-by-Step Guide
Table of Contents
- What You Need Before You Start
- How to Use Mini UVDTF Transfers: Step-by-Step Application
- Best Surfaces for UV DTF and How to Test Them
- UV DTF Transfer Application Tips for a Flawless Finish
- UV DTF Transfer Troubleshooting: Bubbles, Lifting, and Residue
- Curing Time and Durability: What to Expect Long-Term
- Final Thoughts on Mini UVDTF Transfers
- Frequently Asked Questions
Last Updated: September 5, 2026
Mini UVDTF transfers are a fast, heat-free way to add full-color, durable designs to acrylic keychains, pens, cups, and other hard surfaces. A mini uvdtf transfer is essentially a pre-printed decal with an adhesive layer and a protective backing film, applied with pressure rather than heat. In this guide from Barkers Creative Designs, we break down the exact process so you can get a clean, bubble-free result on your first try.

Most failures come down to skipping surface prep, peeling at the wrong angle, or not applying enough pressure during burnishing. Below, we cover how to avoid those mistakes, the best surfaces, troubleshooting, and long-term durability.
What You Need Before You Start
Before you touch a transfer, gather the right tools.
- Isopropyl alcohol (70% or higher) and a lint-free cloth for cleaning the surface.
- A squeegee or burnishing tool to apply firm, even pressure.
- Your mini UVDTF transfer with the clear transfer film and backing film intact.
- A clean, flat work surface with good lighting so you can spot air bubbles early.
A common mistake is using a paper towel or cloth that leaves fibers behind. Any dust or lint trapped under the adhesive layer creates a visible bump and weakens the seal. Guidance on surface preparation for adhesives emphasizes that contaminants directly reduce bond strength, so a quick wipe with isopropyl alcohol on a lint-free cloth is worth the extra minute.
How to Use Mini UVDTF Transfers: Step-by-Step Application
Applying a mini uvdtf transfer correctly comes down to three actions: clean, burnish, and peel.

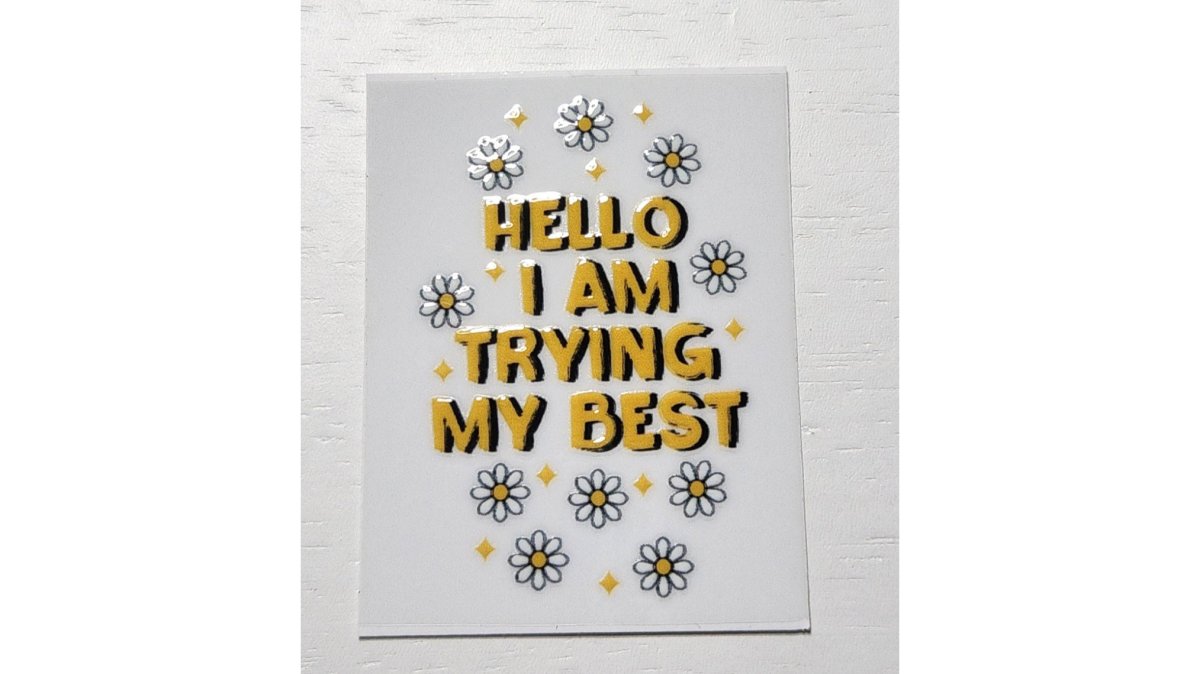
Step 1: Clean and Prepare Your Surface
Wipe the entire surface with isopropyl alcohol to remove oils, mold release agents, and dust. Let it dry completely for about 30 seconds. A clean surface ensures the adhesive makes full contact, which is the foundation of a permanent bond.
Step 2: Position and Burnish the Transfer
Peel the backing film off to expose the adhesive layer, then place the decal onto your prepared surface. The transfer film stays on top. Position it carefully, because once the adhesive touches the surface, repositioning is difficult.
Use your squeegee to burnish the entire design, starting at the center and pushing outward. The goal is to force out trapped air and press the adhesive into full contact with the substrate. Apply firm, consistent pressure across the whole decal, including the edges. This is the most critical step for preventing lifting later.
Step 3: Peel the Backing Film at the Right Angle
The transfer film must come off cleanly, leaving the UV ink and adhesive behind.
Peel the transfer film back over itself at a sharp angle, close to 180 degrees, rather than pulling it straight up. Pull slowly and steadily. If you feel resistance or see the decal lifting, stop, lay the film back down, and burnish that area again before continuing.
Best Surfaces for UV DTF and How to Test Them
Mini UVDTF transfers adhere best to smooth, rigid, non-porous surfaces. Acrylic is the gold standard, but the transfers also work well on glass, metal, ceramic, and coated hard plastics.
The adhesive layer needs a smooth substrate with enough surface energy to form a strong bond. Porous surfaces like untreated wood or raw paper absorb the adhesive and do not hold the decal. Textured surfaces create gaps where air gets trapped, leading to lifting.
| Surface Type | Works Well | Considerations |
|---|---|---|
| Acrylic | Yes | Clean with alcohol; best results |
| Glass | Yes | Ensure surface is dry and dust-free |
| Metal | Yes | Wipe off any oils or fingerprints |
| Ceramic | Yes | Smooth glaze required |
| Coated Hard Plastic | Yes | Test a small area first |
| Untreated Wood | No | Porous; adhesive fails over time |
| Silicone | No | Low surface energy; decal will peel |
If unsure about a surface, run a quick test. Apply one inexpensive mini uvdtf transfer to a small area, wait 24 hours, and check the edges for lifting. This is especially important for coated plastics, where the coating chemistry varies between manufacturers.
A common question is whether these transfers work on silicone bead products. The short answer is no. Silicone has a very low surface tension, which prevents the adhesive from forming a lasting bond. Stick to acrylic and other hard surfaces.
UV DTF Transfer Application Tips for a Flawless Finish
Apply more pressure than you think you need. The adhesive layer requires firm burnishing to flow into the microscopic texture of the surface. A light touch leaves the adhesive sitting on top rather than bonding.
Work from the center outward. This pushes air bubbles to the edges where they can escape, rather than trapping them in the middle.
Use a felt squeegee for curved surfaces. A hard plastic squeegee does not flex around a cup or pen barrel. A felt-edged squeegee conforms to the curve and applies even pressure across the full width.
Check the edges twice. The corners and edges are where lifting starts. Give the perimeter an extra pass with your squeegee before peeling the transfer film.
UV DTF Transfer Troubleshooting: Bubbles, Lifting, and Residue
Even with careful technique, problems happen. This section covers the mechanisms behind each failure and the exact rescue steps, including how to remove a botched transfer without ruining your blank.
Air Bubbles: Diagnosis and Rescue
Air bubbles are almost always a mechanical issue, not a chemical one. They form when the adhesive layer bridges across a microscopic valley on the substrate, sealing air inside. This happens for three reasons: insufficient pressure, a trapped particle, or a surface that is not perfectly smooth.
Before peeling the transfer film (the rescue window):
- Identify the bubble type. A flat, wide bubble is trapped air. A raised, dome-shaped bump is almost certainly a dust particle or lint fiber.
- For a flat bubble: Lift the transfer film back just to the edge of the bubble. Do not peel the whole decal. Use a needle to prick the bubble through the transfer film, then burnish the air out toward the prick hole. The hole will be invisible in the adhesive layer.
- For a dome-shaped bump: Lift the transfer film back to the bump. Use fine-tipped tweezers to remove the particle. If the adhesive has already flowed around it, you cannot remove it cleanly. Replace the decal.
After peeling the transfer film:
- Small bubbles (under 2 mm): Press firmly with your fingertip. The adhesive will continue to flow for 24-48 hours as it cures, and most small bubbles will disappear. If it does not disappear after 48 hours, it is not air, it is an outgassing bubble from a contaminated surface.
- Large bubbles (over 2 mm): These will not self-correct. The adhesive has already cross-linked around the air pocket. Your only option is removal (see below) and reapplication.
Lifting Edges: The Failure Mechanism
Edge lifting is a progressive failure. It starts when the adhesive at the perimeter does not make full contact, leaving a microscopic gap. Over time, moisture or abrasion works its way into that gap, and the bond fails from the outside in. This is why you must burnish edges with extra pressure, not just the center.
Diagnostic checklist for edge lifting:
| Symptom | Likely Cause | Fix |
|---|---|---|
| Lifts within 1 hour of application | Insufficient edge burnishing | Re-burnish with a felt squeegee, focusing on the perimeter |
| Lifts after 24-48 hours | Surface contamination (oils, mold release) | Clean with isopropyl alcohol, wait for full dry, reapply |
| Lifts after several days | Incompatible substrate (low surface energy) | Switch to a different blank material or apply a clear sealant over the decal |
| Lifts only on curved areas | The decal did not conform to the radius | Use a felt squeegee and apply heat from a hair dryer on low to soften the adhesive during burnishing |
The curved-surface fix: On a pen barrel or cup, the decal is under tension. Use a felt squeegee and work in small 1-inch segments, applying extra pressure at the leading edge of the curve. If the decal still lifts, the radius is too tight for the adhesive to hold, switch to a smaller design or a different blank.
Residue and Removal: The Complete Guide
Residue is a sign that the adhesive bond is stronger than the cohesive strength of the adhesive itself. When you pull a decal off, the adhesive splits, leaving a thin film behind. This is normal and expected.
How to remove a misapplied transfer:
- Heat the decal with a hair dryer on medium heat for 30-60 seconds. The goal is to soften the adhesive, not melt the substrate. The decal should feel warm but not hot.
- Lift a corner with a plastic razor blade or your fingernail. Do not use a metal blade on acrylic, it will scratch.
- Peel slowly at a 180-degree angle, pulling the decal back over itself. If you feel resistance, apply more heat.
- Remove the residue with isopropyl alcohol on a lint-free cloth, rubbing in a circular motion. For stubborn residue, let the alcohol sit for 30 seconds before wiping.
When removal fails: If the decal has been on the surface for more than 72 hours, the adhesive has fully cured and the bond may be stronger than the substrate itself. On acrylic, aggressive removal can pull a thin layer of the acrylic off, leaving a cloudy patch. In this case, the blank is ruined. This is why the 24-hour window is critical for catching mistakes.
The 24-Hour Rule
UV DTF adhesive does not reach full bond strength for 24-48 hours. During this period, the adhesive is still flowing and has not fully cross-linked. This means:
- You can still rescue a bubble or lift within the first few hours.
- You should not test the bond with water, friction, or flexing until 24 hours have passed.
- The decal is most vulnerable to edge lifting during this window, so store the item flat and undisturbed.
If you catch a problem within the first 6 hours, removal is clean and residue-free. After 24 hours, removal becomes destructive. Plan your application time so you can inspect your work before the bond sets.
Curing Time and Durability: What to Expect Long-Term
UV DTF transfers do not require heat to cure, but the adhesive bond does strengthen over the first 24 to 48 hours. This is not a marketing claim, it is the chemistry of the pressure-sensitive adhesive. The adhesive is a viscoelastic material that needs time to flow into the microscopic pores of the substrate. Full bond strength is reached after the adhesive has completely wet out the surface.
The Curing Timeline
| Time After Application | Bond Strength | What You Can Do |
|---|---|---|
| 0-1 hour | ~30% of final strength | Handle gently; do not test edges |
| 1-6 hours | ~60% of final strength | Light handling; still avoid water |
| 6-24 hours | ~85% of final strength | Normal handling; avoid submersion |
| 24-48 hours | ~100% of final strength | Full durability; water and friction safe |
During the first hour, the adhesive is still mobile. If you apply a decal and immediately flex the substrate, the adhesive can shift, creating micro-gaps that will later turn into bubbles. This is why we recommend letting the item sit flat for at least 1 hour before handling.
Real-World Durability Testing
Here is what you can expect under normal use:
Keychains (pocket or bag carry): The primary stress is abrasion against other objects. The UV-cured ink is scratch-resistant, but the edges are the weak point. For heavy abrasion, apply a clear acrylic sealant spray over the decal after the 48-hour cure.
Cups and tumblers (hand wash only): UV DTF transfers are not dishwasher safe. The combination of heat, moisture, and detergent will break down the adhesive bond. In a dishwasher, the decal will begin to lift at the edges within 1-2 wash cycles. For hand-washed cups, the decal will last indefinitely as long as you avoid scrubbing with an abrasive pad. The UV ink resists fading, but prolonged direct UV exposure (like a cup left in a car window) will eventually yellow the adhesive layer after 6-12 months.
Acrylic keychains and ornaments (display use): For items that sit on a shelf or hang from a rearview mirror, the decal will last for years. The main risk is not wear but temperature cycling. Acrylic expands and contracts with temperature changes, and over time, this can stress the adhesive bond. In a car interior that reaches 140°F in summer, the adhesive softens and the decal may shift slightly. This is not a failure, it is the adhesive responding to heat. When the temperature drops, the decal will re-bond.
UV Resistance and Fading
The UV-cured ink used in UV DTF transfers is formulated to resist fading. Unlike solvent-based inks that sit on the surface, UV ink is cured with ultraviolet light, creating a cross-linked polymer that is chemically stable. In direct sunlight, you can expect:
- No visible fading for 12 months of continuous outdoor exposure.
- Slight yellowing of the adhesive layer after 12-18 months, visible only on clear substrates.
- Ink cracking if the substrate is flexed repeatedly, which is more a function of the substrate than the ink.
Scratch and Abrasion Resistance
The UV ink layer is hard and scratch-resistant, but not scratch-proof. A metal key or sharp edge can scratch the ink. The scratch will not spread or cause peeling, but it will be visible. For high-abrasion applications, we recommend a clear topcoat.
The 48-Hour Rule for Water Exposure
Do not submerge a UV DTF transfer in water for the first 48 hours. The adhesive needs this time to reach full bond strength. After 48 hours, the decal is water-resistant but not waterproof. Prolonged submersion (more than 30 minutes) can eventually penetrate the adhesive layer, especially at the edges. For items that will be regularly submerged, like water bottles, apply a clear sealant and extend the cure time to 72 hours before first use.
When to Expect Failure
UV DTF transfers are a permanent adhesive product, but "permanent" is relative. Here is what will cause failure over time:
- Prolonged heat above 150°F will soften the adhesive and cause the decal to slide.
- Repeated flexing of the substrate will crack the ink layer.
- Chemical exposure to solvents, oils, or harsh cleaners will break down the adhesive.
- Abrasion will wear down the edges over time.
If you need a decal that can survive a dishwasher, outdoor weather, or constant handling, UV DTF is not the right product. A two-part epoxy or a domed resin sticker will offer better durability in those conditions. UV DTF is best for items that are handled gently and kept clean.
Final Thoughts on Mini UVDTF Transfers
Mini UVDTF transfers open up a lot of creative possibilities for personalizing acrylic keychains, pens, cups, and other hard-surface blanks. The technique is simple, but the details matter: clean the surface, burnish firmly, and peel at a sharp angle.
Barkers Creative Designs carries a rotating selection of mini UVDTF designs, including faith-based options sized at 2 by 2.25 inches, all priced at $0.50 per decal. Whether you are testing the technique for the first time or building a small production line, our catalog has the specialized supplies you need. Search our current inventory to find the perfect decals for your next project.

Mastering mini uvdtf transfers comes down to consistent surface prep and firm, even pressure during application. The technique is repeatable, and with a little practice, you will produce clean, durable decals every time. Barkers Creative Designs offers a diverse selection of crafting supplies, including specialized mini UVDTF decals and DIY kits, so you can find everything you need in one place. Get started with Barkers Creative Designs and explore our discounted inventory to stock up on the supplies for your next creative project.
Frequently Asked Questions
How do you apply a mini UV DTF transfer to a surface?
Clean the surface with isopropyl alcohol and a lint-free cloth. Peel the transfer from its backing sheet, position it on the item, and press firmly with a squeegee. Burnish the entire decal with even pressure, then slowly peel the clear transfer film away at a sharp angle. If any part lifts, lay the film back down and burnish that area again before re-peeling.
What surfaces work best with mini UV DTF transfers?
Mini UVDTF transfers work best on smooth, rigid surfaces like acrylic hotel keychains, plastic pens, mugs, and tumblers. They also adhere well to glass and painted metal. Avoid highly textured or porous materials like raw wood or uncoated ceramics, as the adhesive layer cannot form a permanent bond with uneven surfaces.
How do I prevent bubbles when applying UV DTF transfers?
Prevent bubbles by starting with a spotless surface. Wipe it with isopropyl alcohol to remove oils and dust. When placing the decal, start from one edge and lower it gradually rather than dropping it flat. Apply firm, even pressure with a squeegee from the center outward to push out trapped air before peeling the transfer film.
Do you need a heat press for UV DTF transfers?
No, UV DTF transfers are heat-free application decals. The adhesive layer is activated by pressure, not temperature. A squeegee or your thumb provides enough force to create a permanent bond on most surfaces. This makes them ideal for use on plastic items like acrylic keychains that would warp under heat.