
DIY Keychain Supplies for Beginners: A 2026 Guide
Table of Contents
- Essential Tools for Keychain Crafting
- Best Keychain Making Kits for Beginners
- Silicone vs Acrylic Keychain Supplies
- Types of Keychain Hardware and Decorative Elements
- Step-by-Step Keychain Assembly for Beginners
- Pricing and Selling Your Handmade Keychains
- Conclusion
- Frequently Asked Questions
Last Updated: September 30, 2026
Essential Tools for Keychain Crafting
You can assemble a finished keychain from keychain supplies with three tools: chain-nose pliers, wire cutters, and a small dish for beads. That startup kit costs less than most single bead packs. This guide from Barkers Creative Designs covers the tools, hardware, and assembly steps that trip up first-timers.
Beginners waste money on giant tool sets before they know what they need.
Pliers and Wire Cutters
Chain-nose pliers open and close jump rings and grip wire without marring it. Flat-nose pliers flatten crimps. Round-nose pliers only matter if you bend your own wire loops, which most beaded projects skip.
Tool Maintenance and Longevity
Pliers rust from hand moisture and humidity, not heavy use. Wipe the joint dry after each session.
Wire cutters dull on memory and coated wire.
Best Keychain Making Kits for Beginners
A beginner kit should contain hardware, beads, and a focal in one box so you are not guessing at color combinations, the point of a kit, and where loose bead buying falls apart.
| Kit or Supply | Price | What You Get | Best For |
|---|---|---|---|
| DIY 10 inch Wristlet Kit | $8.00 | Wire, lobster keychain, spacers, 18 beads, focal | First project, no tools needed |
| 15 mm Mixed Bag | $7.00 | 30-60 beads, some focals | Building a color stash |
| 15 mm Solid Beads, 20 pack | $3.00 | 20 beads, one color | Filling gaps in a design |
| Beadable Bar Keychain | $1.75 | 3 inch bar, lobster clasp | Minimalist bead projects |
| Silver Keyring with Lobster Clasp | $0.60 | One keyring, one clasp | Wristlets and refills |
Silicone vs Acrylic Keychain Supplies
Silicone beads are soft, matte, and flexible. Acrylic charms are hard, glossy, and rigid. Neither is better; they solve different problems, and most finished keychains use both.
Sourcing Sustainable and Eco-Friendly Materials
What you control is waste: mixed bags and discounted or discontinued inventory keep usable beads out of landfill and cost less.
Types of Keychain Hardware and Decorative Elements
Hardware is the part beginners underbuy and the part that decides whether a keychain survives a week on a bag strap or fails at the clasp. You need one attachment point, one connector, and enough decorative elements to fill the length, each with a size and load limit to match before you buy.
| Hardware | Function | Typical Use | What to Check Before Buying |
|---|---|---|---|
| Split key ring | Holds keys | Standard keychains | Ring diameter vs. number of keys |
| Lobster claw clasp | Clips and releases | Wristlets, bag charms | Gate opening vs. strap thickness |
| Swivel hook | Rotates without twisting | Heavy keychains | |
| Lanyard snap hook | Larger clip | ||
| Jump ring | Joins two parts | Attaching charms and focals | Wire gauge vs. charm weight |
Matching Hardware to Bead Size and Wire
The most common beginner failure is a bead that will not sit flat because the hardware was designed for a different diameter. A 15 mm bead on a 12 mm bar rocks and leaves gaps; a 10 mm bead on a 15 mm bar slides and clatters.
Decorative Elements That Hold Up
Printed beads give detail silicone cannot. On a keychain that lives in a pocket or bag, the decorative element takes more abrasion than the beads. Choose smooth-edged charms over thin, sharply pointed shapes, and check that any printed finish is sealed rather than a decal that peels.
Step-by-Step Keychain Assembly for Beginners
Lay out your full design before you thread anything. Assembly takes about 10 minutes once the layout is set, and most of that is deciding the order.
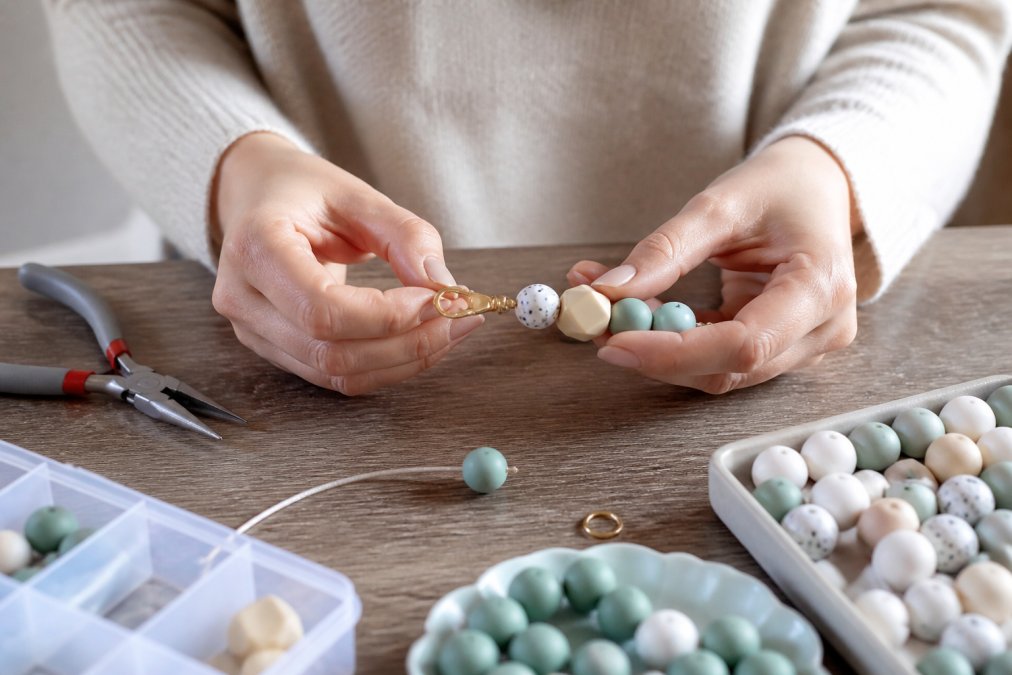
- Choose your hardware. Pick the clasp first. A lobster claw clasp suits a wristlet; a split key ring suits a plain keychain.
- Lay out the bead order. Place every bead and focal on the table in final sequence. Rearrange before you thread.
- Thread the wire or cord. Push beads on in order, leaving a small gap at each end for the hardware loop.
- Attach the clasp. Feed the wire end through the clasp loop and secure it with a crimp or a tight double knot, depending on your wire type.
- Add the jump ring and charm. Open the jump ring sideways, slide on the charm, and twist it closed.
- Test the tension. Hang the keychain and check that beads do not slide and the clasp does not twist.
- Trim the excess. Cut the wire tail flush so no burr catches on fabric.
Troubleshooting Common Assembly Errors
Beads that slide freely mean the wire is too long for the bead count. Add a spacer or shorten the wire.
Pricing and Selling Your Handmade Keychains
Most beginner guides mention selling in one sentence and move on. This section does the math, because pricing is where new makers either undercharge until they quit or price themselves out of a first sale.
Build a Per-Unit Cost First
Price from material cost, not from what feels fair. Add up every component in one finished keychain, beads, wire, clasp, ring, charm, packaging, then divide your bulk purchase price by the usable pieces per pack for a per-unit cost.
The Multiplier Is Not the Price
The three-times rule is a starting point, not a formula, it assumes material cost is the only input. Labor, packaging, and platform fees all come out of the sale price before profit.
A more honest structure separates three numbers:
- Material cost, what you spent on components for one unit.
- Labor cost, your time at an hourly rate you would accept from someone else. Even at a modest rate, a 10-minute assembly adds up.
- Overhead, packaging, shipping supplies, and any selling platform fees.
Retail vs. Wholesale Pricing
Selling to shops rather than direct, wholesale typically lands at roughly half of retail: a $27 keychain wholesales near $13.50, which only works if your all-in cost is comfortably below that. Run the wholesale math before agreeing to a bulk order.
What Actually Moves the Margin
Three levers matter more than the multiplier you choose:
- Per-bead cost. Buying mixed bags and discounted or discontinued inventory lowers your cost per bead without lowering quality.
- Bead count per keychain. A design that uses 12 beads instead of 18 cuts material cost by a third while looking just as full if the focal is sized right.
- Hardware choice. A $0.60 keyring and a $1.75 beadable bar produce very different margins on the same bead count. Match the hardware to the price point you intend to sell at.
Conclusion
The hard part of keychain making is not assembly, it is buying supplies that work together before you know what you are doing. Most beginners waste their first orders on mismatched bead sizes and hardware that does not fit.

Frequently Asked Questions
What supplies do I need to make keychains?
Start with keychain hardware like split key rings, lobster claw clasps, or swivel hooks. Add silicone or acrylic beads, a focal bead, and jump rings for attaching charms. You will also need basic tools: chain-nose pliers and wire cutters. A starter kit from Barkers Creative Designs, such as the DIY 10 inch Wristlet Kit at $8.00, includes wire, a lobster keychain, spacers, 18 beads, and a focal, so you can begin without buying everything separately.
What are the best materials for durable DIY keychains?
Silicone beads hold up well against daily wear because they resist fading and cracking. Acrylic charms offer more design variety. For hardware, choose stainless steel or silver-plated lobster clasps and split rings rather than lightweight alloys. Barkers Creative Designs sells 15 mm solid silicone beads in 20-packs for $3.00, made from BPA-free, food-safe silicone that keeps its color with proper care.
How do I choose between acrylic and silicone keychain supplies?
Silicone works best for keychains handled daily, especially for children's accessories, because it is soft, non-toxic, and durable. If you are making items for kids, food-grade silicone is the safer pick. Many crafters combine both: a silicone bead base with an acrylic focal charm for contrast.
What tools are essential for assembling custom keychains?
You need chain-nose pliers for opening and closing jump rings and wire cutters for trimming cord or wire. Pliers are helpful even for no-tool kits like the DIY 10 inch Wristlet Kit. Wipe pliers with a dry cloth after each session to prevent rust.
Can I start a keychain business with beginner-friendly supplies?
Yes. Begin with a focused product line, such as beaded wristlets or themed keychains, using a kit like the DIY 10 inch Wristlet Kit at $8.00. Buy hardware in small quantities first, like the Silver keyring with lobster clasp at $0.60 each. Track which designs sell best before investing in bulk.
How do I attach charms and beads to keychain hardware?
Thread beads onto a wire or cord, then secure both ends to a jump ring using pliers. Attach the jump ring to your lobster clasp. For a beadable bar keychain, slide beads directly onto the bar and screw the cap back on. Test the attachment by gently tugging before calling it finished.